TFS Pipelines
Team Foundation Server (TFS) is a popular Source Code and Content Management system for companies developing applications with Microsoft technologies. Targeting Tanzu Application Service (PCF) installations from TFS can be easily accomplished using existing platform capabilities and available marketplace extensions. This guide is intended for an organization already using TFS and wants to establish a Continuous Integration and Continuous Delivery (CI/CD) pipeline for .NET and .NET core applications deploying into PCF installations.
See here for the Google document version.
Requirements
The following are required to successfully complete the configuration of the CI/CD pipeline in Team Foundation Services instructions found in this document. The steps have been successfully tested in both the public and private installation scenarios.
-
Team Foundation Services 2017 SP1
-
Required for building .NET Core applications
-
A standalone server installation can be used in conjunction with other source code management systems or older versions of Team Foundation Services
-
-
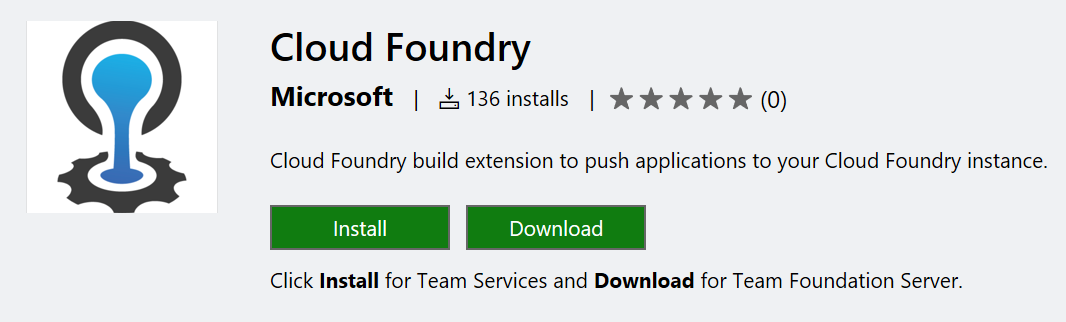
Cloud Foundry TFS Extension (available from marketplace)
-
Visual Studio 2017 for build agents
-
Cloud Foundry CLI for build agents
-
Cloud Foundry Account(s) for deployment
New Windows Build Agents:
-
Create build machines and install the build agents following Microsoft’s instructions found here.
-
Install the Cloud Foundry CLI for Windows on the build machine found here**.
-
Install any additional tools on the build machine that is required to complete code builds.
Existing Windows Build Agents:
- Install the Cloud Foundry CLI on the build machine found here**.
** The Cloud Foundry CLI can be pulled down from a repository during the deployment phase as an alternative to installing the CLI on each build machine. One advantage of pulling the CLI from the repository for each deployment is that it helps ensure the correct version is always used during the deployment process.
Server Endpoints:
To make PCF API endpoints available to TFS, the endpoints will need to be added to each project. To add the endpoints, login with using an account with permission to add Services.
To add a PCF Endpoint:
-
Select
+New Service Endpointin the Services page -
Select
Genericfor the type -
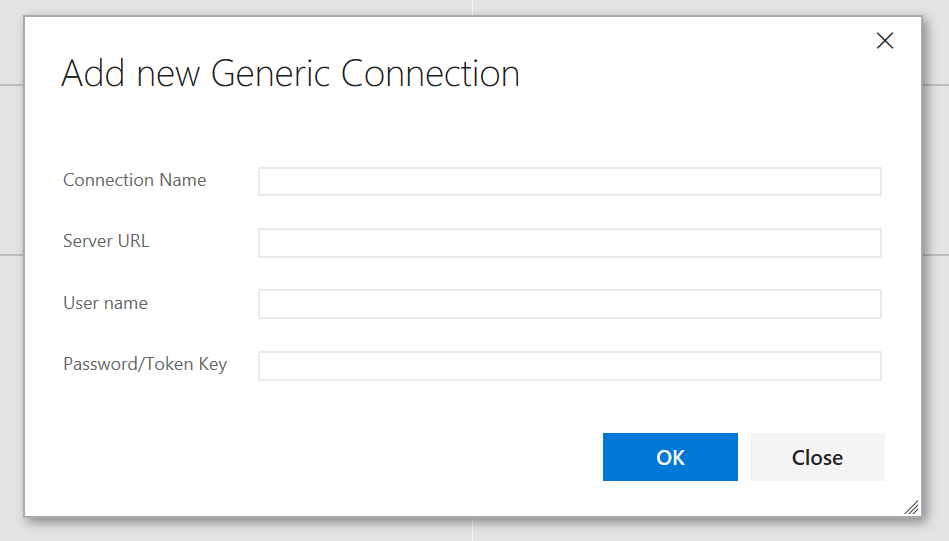
In the dialog box enter the information for the PCF API server endpoint
-
Select
OKto save the information
Server Extensions:
To simplify the deployment using the Cloud Foundry CLI, the use of a Microsoft extension available from the marketplace is recommended. These steps can be accomplished through batch scripts but this approach would require extensive parameterization to support various PCF deployment scenarios. This Microsoft extension needs to be installed from the TFS Portal and can be found here.
Building for Cloud Foundry
During the build process, changes will need to be made to the build definition. The goal of this step is to publish the application artifacts to a folder rather than the default of creating an IIS installation package.
.NET 4.52+ Application:
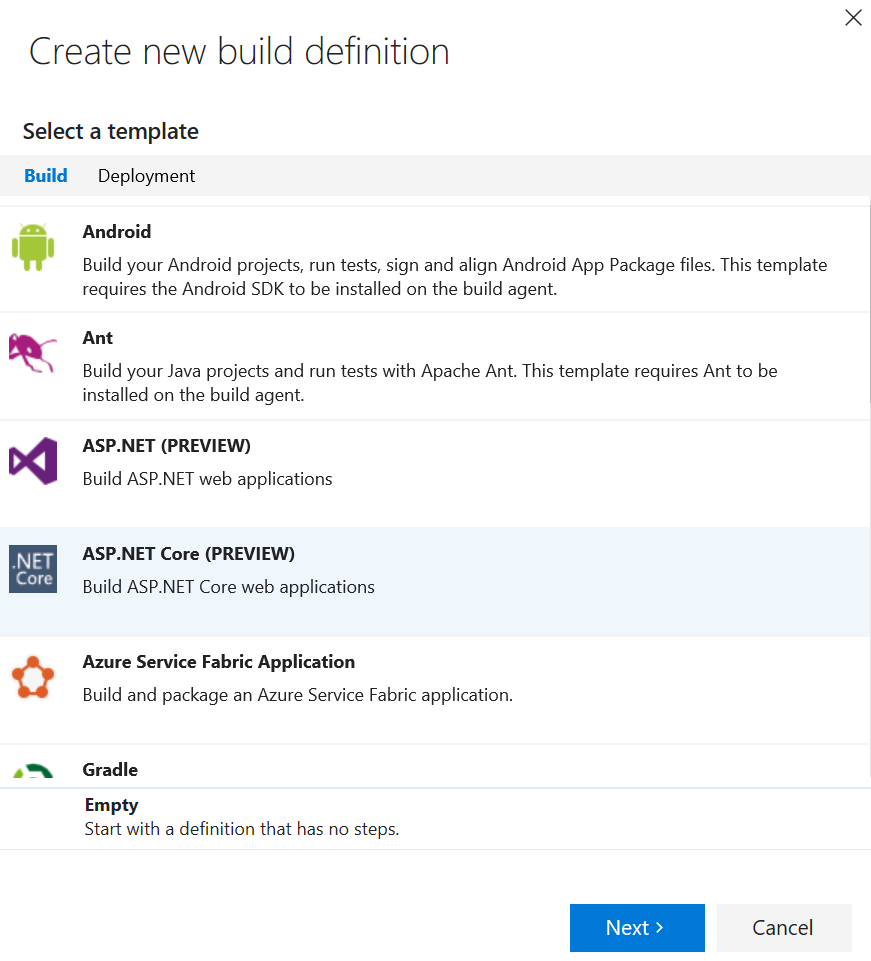
- Create a new build definition and select ASP.NET Template

-
Attach project to the repository and select
Create -
Add the following arguments to the MSBuild task in the build definition. This will place the publish output into the artifact staging directory.
/p:DeployOnBuild=true /p:DeployDefaultTarget=WebPublish
/p:WebPublishMethod=FileSystem /p:PackageAsSingleFile=false
/p:SkipInvalidConfigurations=true /p:PublishUrl="$(build.artifactstagingdirectory)\\"

-
Add a
Publish Artifacttask if it is not already in the definition -
If not already set, enter
$(build.artifactstagingdirectory)in thePath to Publishfield

- Save the build definition
.NET Core Application:
- Create a new build definition and select ASP.NET Core Template
-
Attach project to the repository and select
Create -
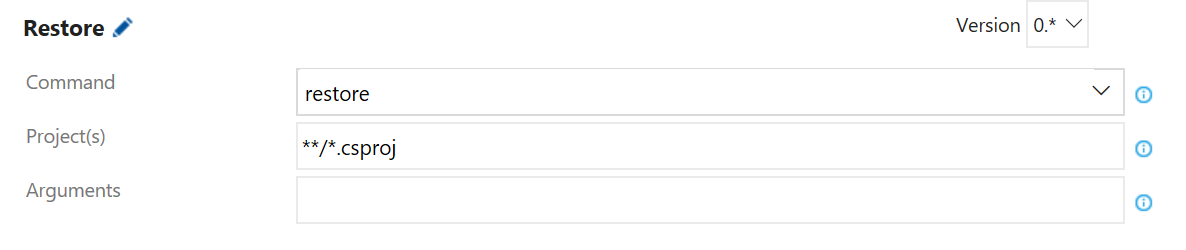
Modify the
Restoretask to use the.csprojproject file instead of theproject.jsonfile
- Modify the
Buildtask to use the.csprojproject file instead of theproject.jsonfile

- Modify the
Testtask to use the.csprojproject file instead of the “Test”project.jsonfile

-
Modify the
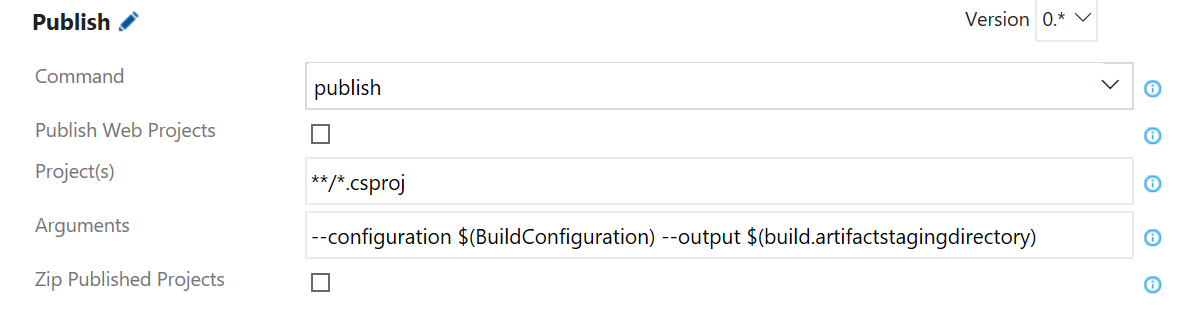
Publishtask as follows:-
Uncheck the option for
Publish Web Projects -
Uncheck the option for
Zip Published Projects
-
-
Add a
Publish Artifacttask if it is missing from the definition and configure using step 5 from the .NET 4.52+ Application instructions -
Save the build definition
Setting Up Releases
Tanzu Application Service deployments can be accomplished using the Cloud Foundry Extension. Users have a choice between deploying through a manifest file or through the configuration of the extension. To use a manifest file that is part of the project, include it with the published output of the project. .NET 4.x applications must run on Windows while .NET Core apps can run on Windows and Linux.
Example project file entry to include a manifest file:
<ItemGroup>
	<None Update="manifest.yml">
		<CopyToOutputDirectory>Always</CopyToOutputDirectory>
	</None>
</ItemGroup>
.NET 4.52+ Application (No Manifest):
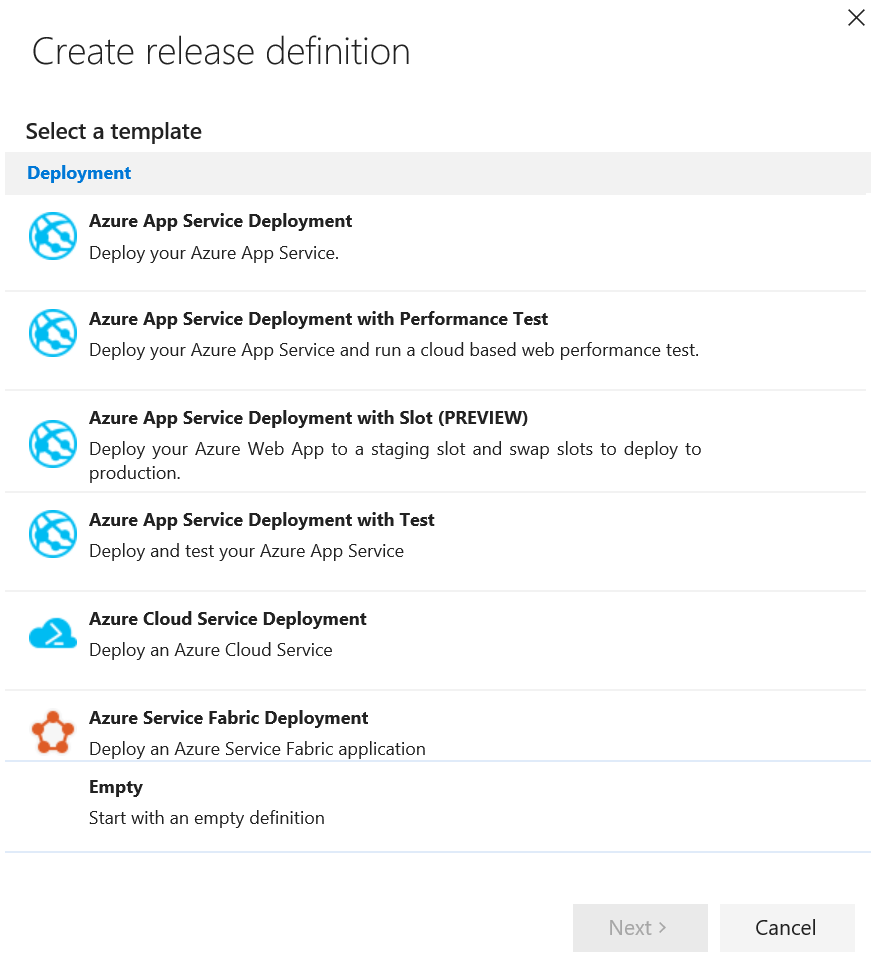
- Create a new
Release Definitionfor the project and selectEmptytemplate
-
Select the project you wish to deploy and hit
Create -
Rename the default added environment
Development– this environment is setup initially to be triggered whenever a new release is available -
Select the
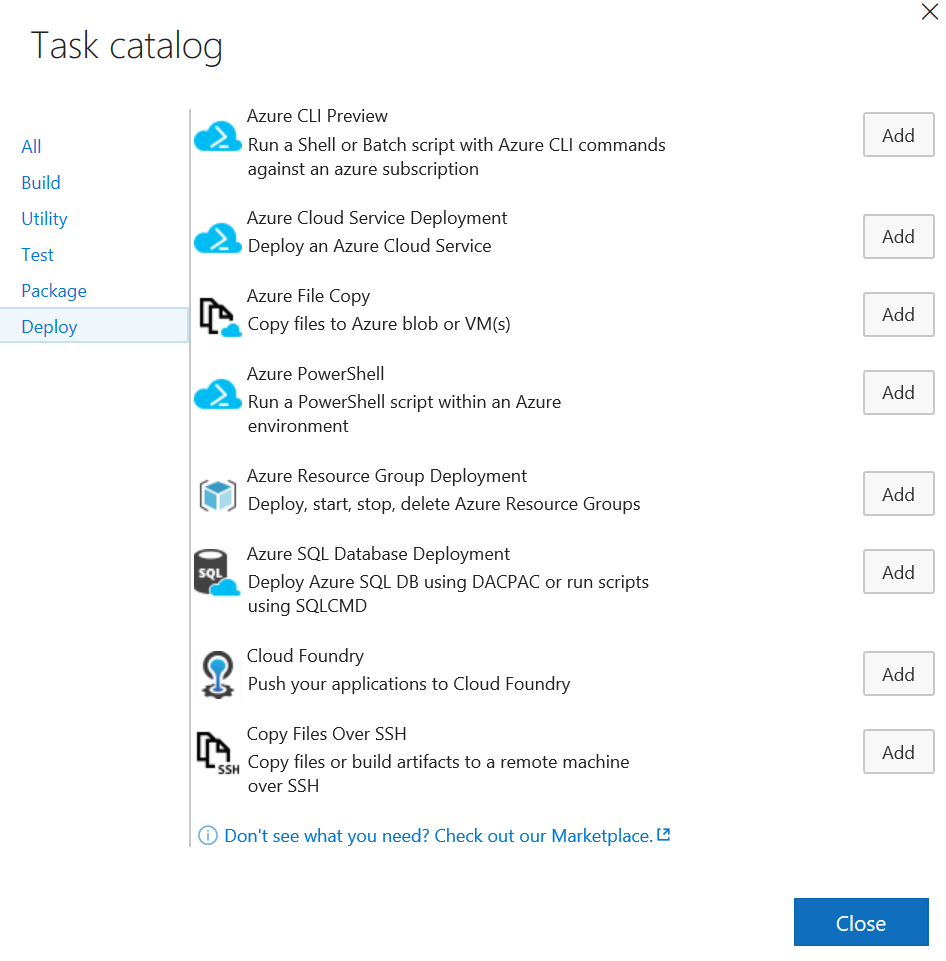
Run on Agentphase and clickAdd Task -
Find the Cloud Foundry push activity under
Deployand clickAdd
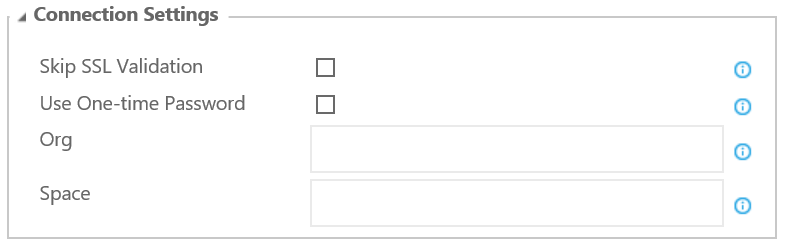
- Select the endpoint for the deployment

- Update connection settings to include the organization and space on the PCF installation you wish to deploy
- Configure your deployment options to update the buildpack (e.g.
-b hwc_buildpack) and target stack (e.g.-s windows2012R2) information for the application. Note512Mbfor memory limit should only be used as a guide only. Consider starting higher and scaling down to suit application.
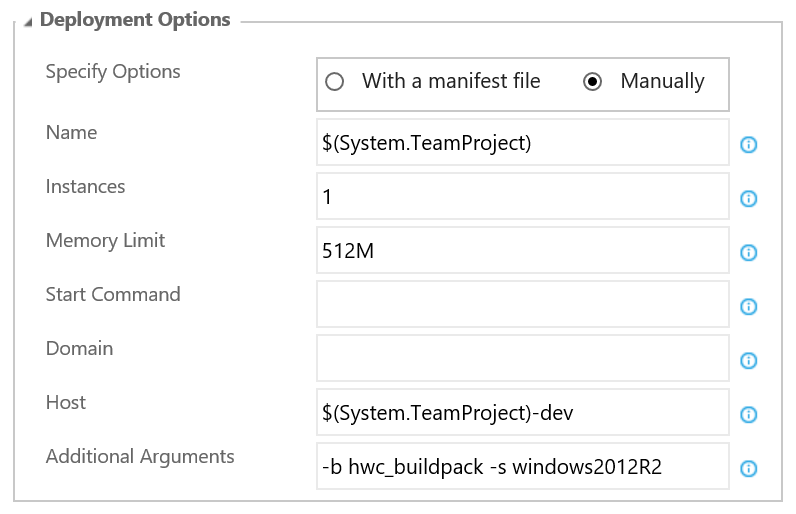
- Set the working directory for the task to the
dropfolder created in the build – Tip: use the helper to locate the correct drop folder from the published artifacts

-
Add additional environments, updating the connection string and deployment options for each environment
-
Save the Release Definition
.NET Core Application (With Manifest):
The deployment of a .NET Core application is the same as deploying a .NET 4.x application with just one minor modification to the working folder. Configuring a deployment using a manifest will require adjustments to the deployment options of the extension.
-
Follow steps 1-7 as above
-
Configure your deployment options to specify the manifest file to use for the deployment and other arguments you wish to pass to the CLI – in this case, specifying a different hostname to use and a specific buildpack

- Update the working directory to point to the directory with the source code published in the .NET Core build definition – Tip: use the helper to locate the correct source folder from the published artifacts

- Save the Release Definition
Configuring Blue/Green Deployments
TFS deployments can be created to allow for automated Blue/Green deployments in PCF. The following is a simple example of creating a Blue/Green CI/CD pipeline using TFS and the PCF extension to update routing after successful deployments. For more information on Blue/Green deployments, see the information located here.
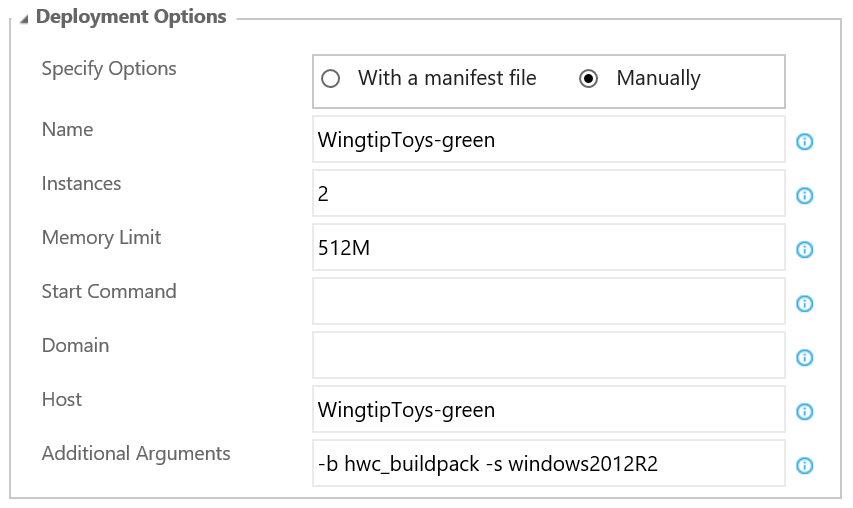
The following example is based on two production deployment instances called WingtipToys-greenand WingtipToys-blue. The production hostname is WingtipToys-prod for this example.
Green Deployment
-
Create a new release definition and call it
Green Deploy -
Complete the build tasks from the Release section above based on the type of application you are deploying
-
In the
Deployment Options, set the name and the hostname of the app to include-greento the end of the name
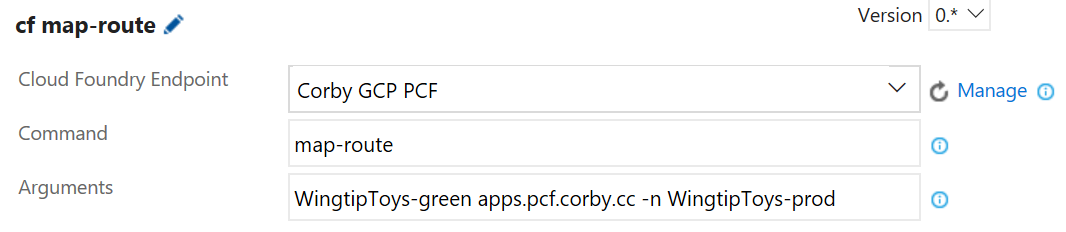
- Add a CF tasks from the Utility tab to the deployment definition

- Update the task command to be
map-routeand update the arguments to add the production route to the green deployment
-
The following can be done as part of the Green Deployment – The second phase in this example was broken out to allow for an approval step
-
Add another environment to the Green Deployment and call it
Post Process -
Set the connection settings for the org and space in the connection options
-
Add a CF tasks from the Utility tab to the
Post ProcessRun build agent and create amap-routetask to re-register the blue route so that it can be accessible through a different hostname
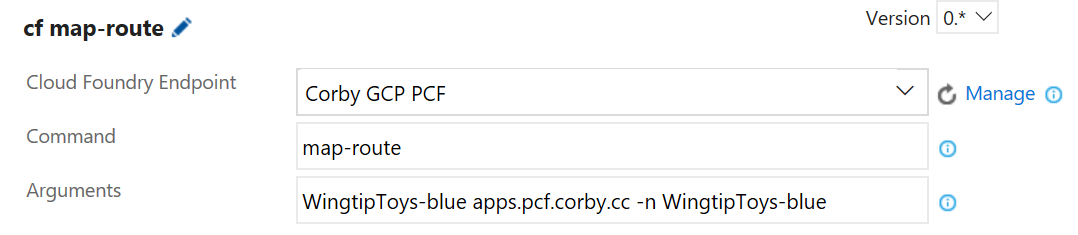
- Add another CF tasks for an
unmap-routetask to de-register the blue deployment from the production route
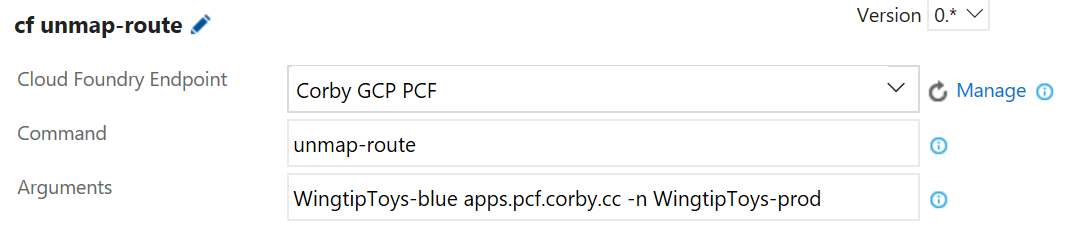
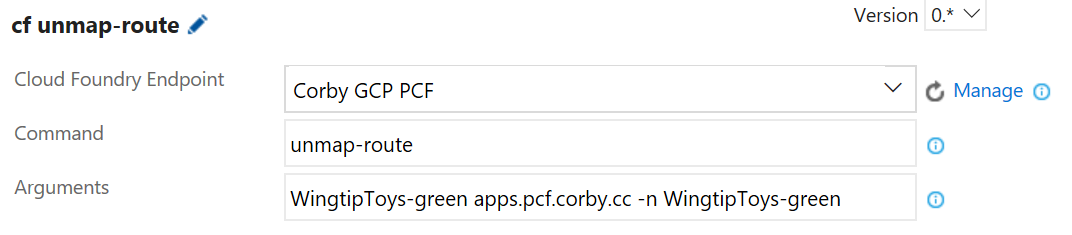
- Add another CF tasks for an
unmap-routetask to de-register the green route
- Save the deployment definition
Blue Deployment:
-
Clone the
Green Deployrelease definition and call itBlue Deploy -
Based on the steps above, replace the green definitions with the blue definitions and vice-versa in the task definitions
-
Save the deployment definition